How To Make Mosaic Artwork
Making mosaic artwork is a fun and easy project that anyone can do no matter his or her artistic ability. It is also a great way to repurpose old tables or surfaces or create interesting wall art and contemporary paintings.
Use the following steps to learn how to make mosaic artwork for beginners.
Table of Contents
Choose a Base for the Mosaic Project
Your mosaic artwork needs a base to glue the tiles or glass. Choose a sturdy base as it needs to support the weight of mosaic tiles and grout.
Wood, stone, and concrete are the most commonly used materials. For example, you could use an old coffee table, walking stones, or cutting board.
Thoroughly clean the base to remove any debris or dirt. Allow it to dry completely before you start your mosaic project.
Choose Materials for the Mosaic Design
After selecting a base, choose the materials for the mosaic design. Common choices include colored glass or ceramic tile broken into smaller pieces.
If breaking glass or tile into smaller pieces, place the material in a cloth or plastic bag. Close the bag and smash the material with a hammer. However, if you want to know how to make mosaic artwork for children, avoid anything with sharp edges.
Instead of breaking glass or tile into smaller pieces, you can purchase pre-packaged mosaic tiles at craft stores. Seashells, stones, bottle caps, and any other small objects also work.
Sketch Your Design and Arrange the Mosaic Pieces
Sketch an outline of your design on a piece of paper before drawing it on the base. Use a marker when drawing the outline on the base material. The ink should show through the adhesive used to glue the mosaic tiles.
After drawing the design, arrange the mosaic pieces on the board. This allows you to preview the design before gluing the pieces.
Glue the Mosaic Pieces to the Base Material
You need to select the right type of adhesive for gluing the mosaic pieces to the base. Some glues work better for specific types of materials. For example, an acrylic-based adhesive works well for slippery materials such as glass, ceramic, or porcelain.
If creating an outdoor mosaic display, use a water-resistant adhesive. Epoxy resins are recommended for metals. However, the most used option is cement-based mortar, which is a combination of sand, cement, and water.
Remove the mosaic pieces from the board and evenly spread the adhesive. Cover the entire surface of the outline of the design. Place the mosaic pieces on top of the adhesive while it is still wet.
Apply Grout to Fill the Gaps Between Pieces
Allow the adhesive to set for at least 24 hours before applying grout. While most people use white-colored grout, it comes in a variety of colors.
Mix the grout according to the instructions on the container. Spread it over the mosaic using a spatula. Carefully fill the gaps between the pieces.
Let the grout sit for about 20 minutes and wipe away the excess with a damp sponge. Regularly rinse the sponge and continue wiping to remove grout from the surface of the mosaic tiles. After the grout dries, apply sealant and put the artwork on display.
You now know how to make mosaic artwork but achieving the results that you want may take practice. If you are not happy with the outcome of your first project, you can always try again.
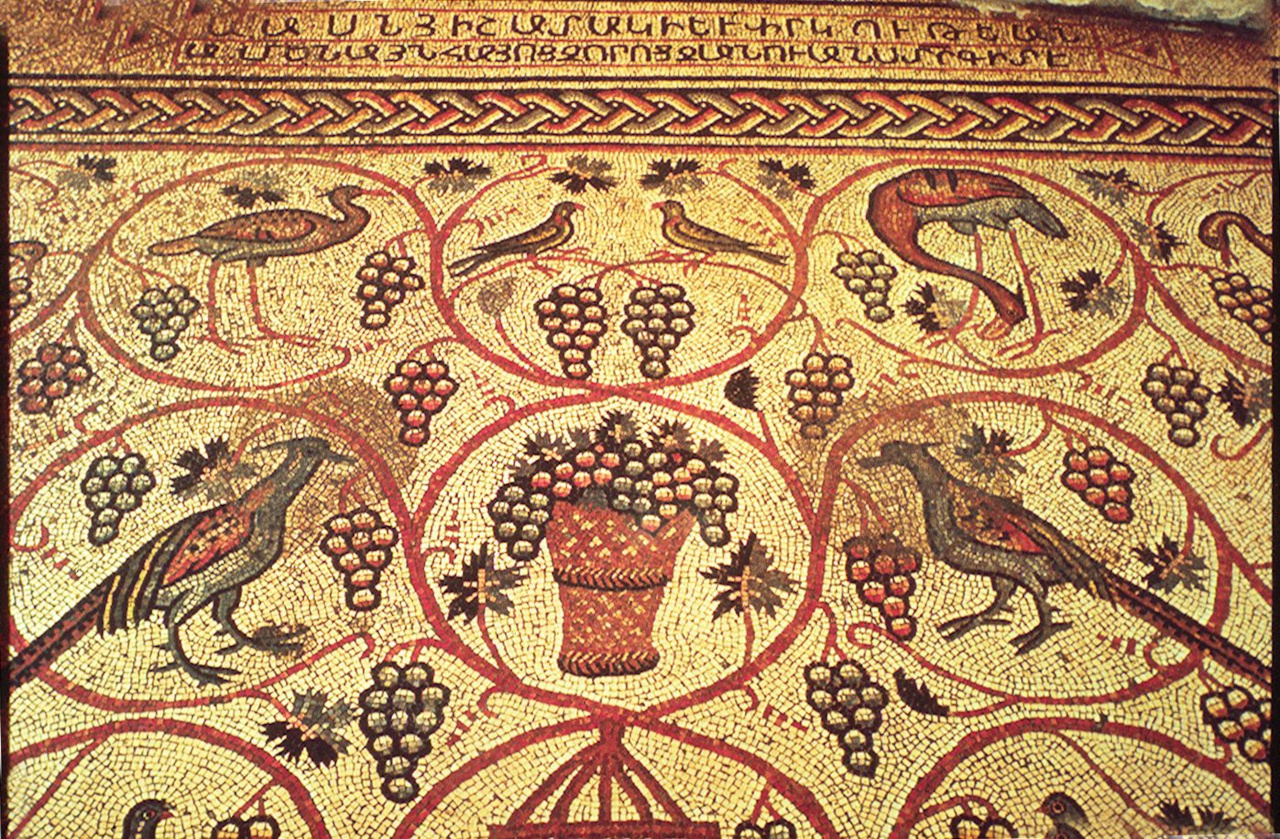
Image credit: unknown. Photo by Dickran Kouymjian, Public domain, via Wikimedia Commons


Weekly Popular

Newsletter
Subscribe to our newsletter to stay up-to-date on our latest news and announcements.